As a photographer, videographer, and digital media specialist, my editing workflow is the backbone of everything I produce. Whether I’m polishing real estate images, creating UGC for brands, or building short‑form videos for social platforms, the tools I choose directly shape the final product. Over the years, I’ve refined a system that blends professional‑grade software with fast, creator‑friendly apps—giving me both precision and efficiency.
This post breaks down the platforms I use most often—Lightroom, Photoshop, Canva, CapCut, and Instagram’s native editing tools—and the practical strategies that help me stay consistent, creative, and efficient.
Why Editing Platforms Matter in a Creator Workflow
Editing isn’t just about making something look “better.” It’s about shaping the story, reinforcing the brand, and creating a recognizable visual identity. The right tools allow you to work faster, maintain consistency, and deliver content that feels polished without losing authenticity.
As a media specialist, I rely on a mix of industry‑standard software and agile mobile apps. Each one plays a different role in my workflow, and together they create a streamlined system that supports both client work and personal content creation.
My Core Editing Tools
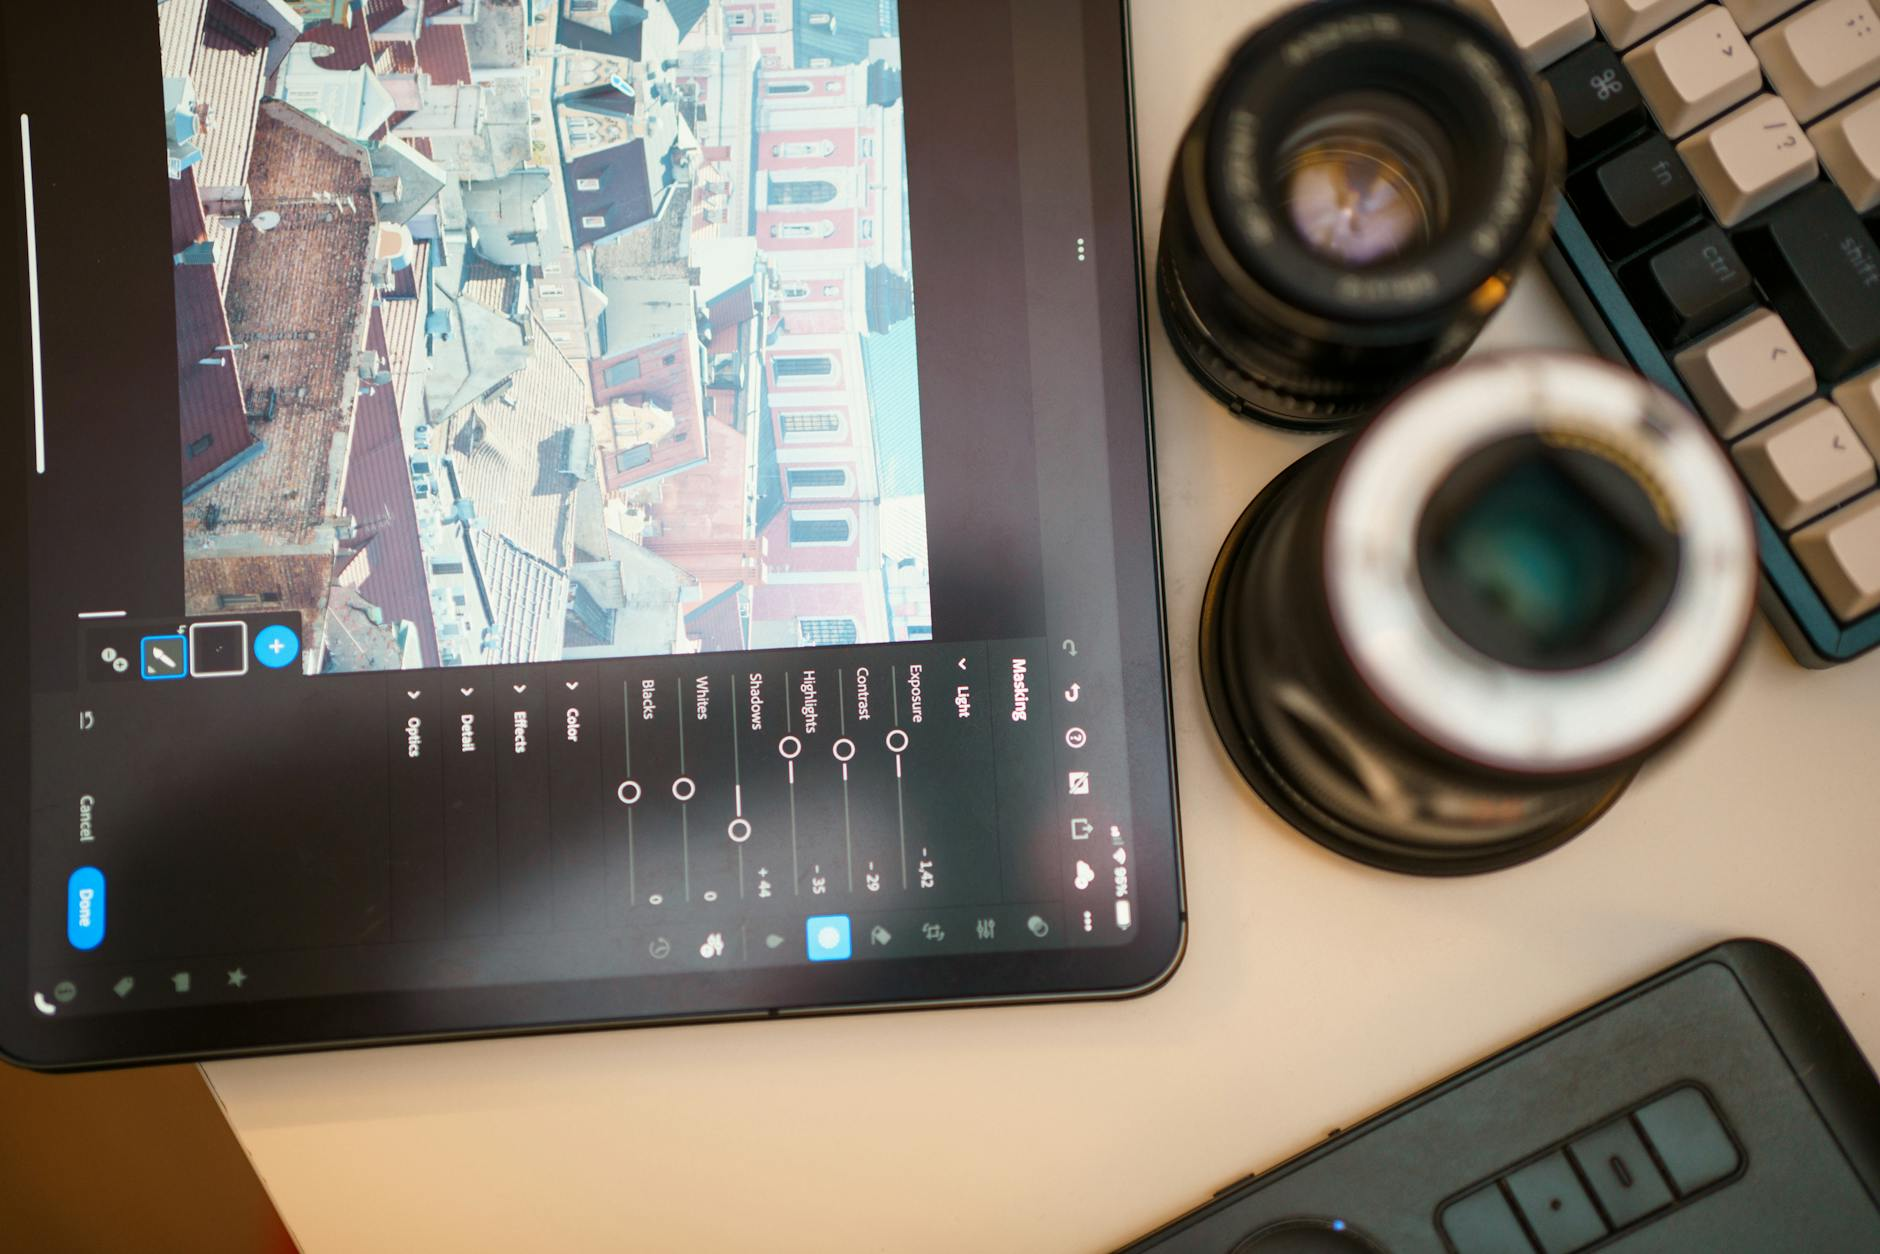
Lightroom: My Foundation for Photo Editing
Lightroom is where nearly every photo begins. It’s the platform that gives me full control over color, tone, and consistency across a full gallery. I use it for everything from real estate interiors to lifestyle content to product photography.
Lightroom’s strength is its ability to create cohesive edits quickly. Presets, batch editing, and selective adjustments make it ideal for high‑volume work. It’s also where I build the “look” of a project before taking anything into Photoshop.
Photoshop: Precision, Retouching & Creative Control
Photoshop is my detail‑oriented space. When an image needs retouching, object removal, sky replacement, or advanced compositing, this is where it happens. It’s the tool that lets me refine the final 10 percent—the part that elevates an image from good to professional.
For client work, Photoshop is often the difference between “nice photo” and “final deliverable.”
Canva: Graphics, Layouts & Quick Video Assembly
Canva is my go‑to for graphics, text overlays, social templates, and quick video layouts. It’s fast, intuitive, and perfect for branded content. I use it for:
- Social graphics
- Reels covers
- Client deliverables
- Simple video sequences
- Text‑driven UGC
It’s also where I build visual consistency for brands that need repeatable templates.
CapCut: Short‑Form Video Editing Made Efficient
CapCut is the workhorse behind most of my short‑form video content. It’s fast, mobile‑friendly, and surprisingly powerful. I use it for:
- Reels
- TikToks
- UGC videos
- Voiceover timing
- Transitions
- Captions
It’s the perfect blend of speed and control, especially when I need to edit on the go. One of the best features I have found so far in Capcut is the teleprompter. This feature makes it so easy to record voiceover audio for videos!

Instagram’s Native Editing Tools
Instagram’s built‑in editing features have improved dramatically. I use them for final tweaks—especially when I want the content to feel native to the platform. Adjusting sharpness, adding subtle filters, or using IG’s text tools can help a video blend seamlessly into the feed.
Practical Tips for Smoother Photo & Video Editing
1. Start with consistent lighting—it saves hours in post.
Good lighting reduces noise, improves color accuracy, and minimizes the need for heavy corrections.
2. Build a small library of presets you actually use.
A handful of reliable presets speeds up your workflow without making your content look repetitive.
3. Use Lightroom for global edits and Photoshop for precision.
Trying to do everything in one platform slows you down and limits your control.
4. Keep your color palette consistent across platforms.
Whether you’re editing in Lightroom or CapCut, aim for a recognizable visual identity.
5. Edit photos before you design graphics.
Clean images make Canva layouts look more professional and cohesive.
6. Use CapCut’s auto captions, then manually refine them.
It saves time, but accuracy still matters—especially for brand work.
7. Keep your video clips organized by project.
A simple folder system prevents wasted time searching for footage.
8. Use adjustment layers in Photoshop instead of editing destructively.
It gives you flexibility and protects your original image.
9. Match your video pacing to the platform.
Instagram prefers fast cuts; YouTube prefers breathing room.
10. Use Canva for brand consistency, not heavy editing.
It’s a design tool, not a color‑grading tool—keep edits in Lightroom or CapCut.
11. Export at the highest quality your platform allows.
Compression will happen anyway—start with the cleanest file possible.
12. Use IG’s native text tools when you want content to feel organic.
It blends better with the platform’s visual language.
13. Don’t overuse filters—aim for clarity over trendiness.
Trendy edits age quickly; clean edits stay relevant.
14. Keep your editing style flexible for client work.
Your personal aesthetic shouldn’t override a brand’s identity.
15. Revisit old edits to refine your style.
Growth shows up in the details—color choices, contrast, pacing, and storytelling.
Editing is where creativity meets technique. The tools I use—Lightroom, Photoshop, Canva, CapCut, and Instagram—each serve a different purpose, but together they create a workflow that supports both artistry and efficiency. As a media specialist, the goal isn’t just to make content look good; it’s to make it feel intentional, cohesive, and aligned with the story I’m trying to tell.
If you’re building your own editing system, start with the tools that feel intuitive, then layer in more advanced platforms as your skills grow. The right workflow evolves with you.